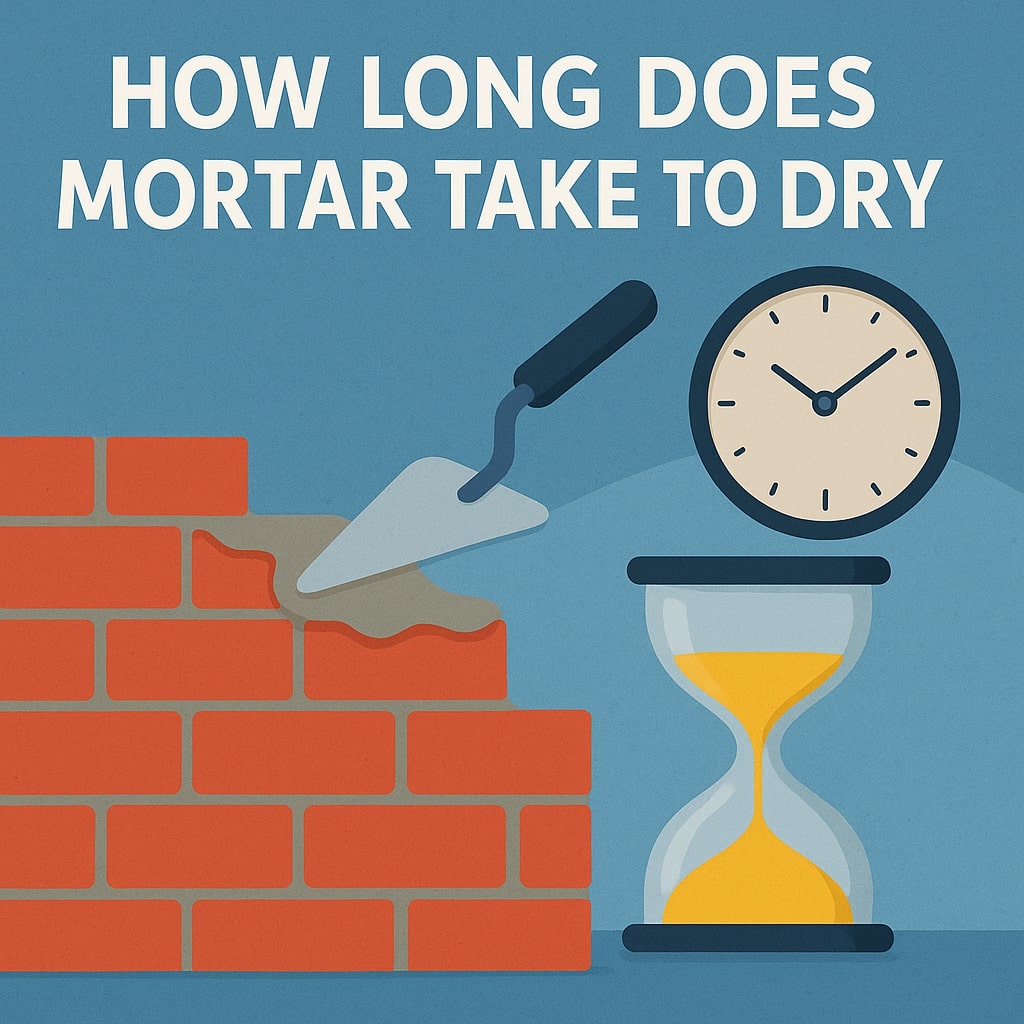
Understanding mortar drying times is crucial for any construction or renovation project. Whether you’re building a garden wall, laying tiles, or repointing brickwork, knowing exactly when your mortar will be ready determines your project timeline and success.
What Is Mortar and Why Does Drying Time Matter?
Mortar is a binding mixture of cement, sand, and water that hardens to hold building materials together. The drying process involves both water evaporation and chemical curing, which creates the strong bond essential for structural integrity.
Getting the timing right prevents cracking, ensures proper adhesion, and maintains the longevity of your construction work. Rush the process, and you risk compromising the entire structure.
Factors That Affect Mortar Drying Time
Multiple variables influence how quickly mortar sets and cures completely. Understanding these factors helps you plan your project timeline accurately.
Temperature and Weather Conditions
Temperature plays the most significant role in mortar drying speed. Warmer conditions accelerate the chemical reactions that cause mortar to harden, whilst cold temperatures slow everything down considerably.
Ideal temperatures range between 18°C to 24°C (65°F to 75°F). At these temperatures, standard mortar typically begins setting within 30 minutes to 2 hours.
Humidity Levels
High humidity slows water evaporation from mortar, extending drying times. Conversely, very low humidity can cause mortar to dry too quickly, potentially leading to cracking and reduced strength.
Optimal humidity levels sit between 40% to 60% for consistent mortar performance.
Mortar Type and Composition
Different mortar formulations cure at varying rates. The cement-to-sand ratio, presence of additives, and specific cement type all impact drying characteristics.
Portland cement mortars generally set faster than lime-based alternatives, whilst polymer-modified versions often cure more rapidly than standard mixes.
Thickness of Application
Thicker mortar applications take longer to dry completely. A thin bed joint might cure in hours, whilst thick pointing work could require several days for full strength development.
Different Types of Mortar and Their Drying Times
| Mortar Type | Initial Set Time | Full Cure Time | Best Use |
|---|---|---|---|
| Standard Cement | 30-60 minutes | 24-48 hours | General building work |
| Lime Mortar | 2-4 hours | 7-28 days | Heritage restoration |
| Polymer-Modified | 15-30 minutes | 12-24 hours | Tile installation |
| Fast-Setting | 5-15 minutes | 2-6 hours | Emergency repairs |
Standard Cement Mortar
The most common type used in construction, standard cement mortar begins setting within 30 to 60 minutes under normal conditions. Full strength develops over 24 to 48 hours, though the curing process continues for weeks.
This mortar works well for general bricklaying, blockwork, and structural applications where reliable strength is paramount.
Lime Mortar
Traditional lime mortar takes considerably longer to set, often requiring 2 to 4 hours for initial hardening. Full carbonation can take weeks or even months, making it ideal for heritage buildings where flexibility and breathability matter more than speed.
The Historic England guidelines provide detailed information about using lime mortars in conservation work.
Polymer-Modified Mortar
These advanced formulations contain synthetic polymers that enhance adhesion and reduce setting time. Initial set occurs within 15 to 30 minutes, with full cure achieved in 12 to 24 hours.
Perfect for tile installation and applications requiring superior bonding strength.
Fast-Setting Mortar
Designed for urgent repairs, fast-setting mortars can achieve initial set in just 5 to 15 minutes. Full cure typically completes within 2 to 6 hours, making them invaluable for emergency structural repairs.
Initial Set vs Full Cure: Understanding the Difference
Many people confuse initial set with complete curing, but these represent different stages of mortar hardening.
Initial set occurs when mortar becomes firm enough to resist finger pressure but hasn’t reached full strength. You can typically handle masonry units carefully at this stage.
Full cure happens when mortar achieves its design strength through complete hydration. This process can continue for months, with most strength gained in the first 28 days.
Mortar Drying Time by Application
Different construction applications have varying requirements for mortar drying times and handling procedures.
Bricklaying Mortar
Brick mortar joints typically set sufficiently for continued building work within 2 to 4 hours under good conditions. However, avoid disturbing newly laid bricks for at least 12 hours to prevent joint damage.
The mortar reaches handling strength within 24 hours but continues gaining strength for several weeks thereafter.
Tile Mortar
Tile adhesive mortars require careful timing. Most products allow tile adjustment for 15 to 30 minutes after application, with grouting possible after 24 hours.
Wait at least 48 hours before allowing foot traffic on newly tiled floors, and 72 hours for heavy loads.
Pointing and Repointing Mortar
Pointing work involves filling joints between existing masonry. These applications typically cure within 24 to 48 hours for standard mortars, though lime mortars may require several days.
Protect fresh pointing from rain for at least 24 hours to prevent washout and ensure proper curing.
Environmental Conditions and Seasonal Considerations
Weather significantly impacts mortar performance throughout the year, requiring different approaches for optimal results.
Summer Drying Times
Hot summer conditions accelerate mortar setting but can cause problems if temperatures exceed 32°C (90°F). Rapid water loss leads to weak, cracked joints that compromise structural integrity.
Shade work areas and consider misting fresh mortar to maintain proper hydration during extreme heat.
Winter Drying Times
Cold weather dramatically slows mortar curing. Below 5°C (40°F), chemical reactions nearly stop, potentially taking weeks for proper strength development.
Protect work from frost and consider heated enclosures or winter-grade additives for cold-weather construction.
Rainy Weather Impact
Rain can wash out fresh mortar or cause excessive water content that weakens the final product. Always protect newly applied mortar from precipitation for at least 24 hours.
Check weather forecasts before starting mortar work and plan accordingly.
How to Test If Mortar Is Dry
| Test Method | Description | When to Use |
|---|---|---|
| Thumbnail Test | Press thumbnail into mortar surface | Initial set check |
| Colour Change | Observe darkening of mortar | Visual assessment |
| Sound Test | Tap with hammer handle | Structural readiness |
| Professional Test | Use setting time equipment | Critical applications |
Several methods help determine mortar readiness without compromising the work quality.
The thumbnail test involves gently pressing your thumbnail into the mortar surface. If it leaves no impression, initial set has occurred.
Fresh mortar appears darker due to water content. As curing progresses, the surface lightens, indicating moisture loss and strength development.
For structural work, tap the mortar gently with a hammer handle. A solid, ringing sound suggests adequate curing, whilst a dull thud indicates more time is needed.
Common Mistakes That Delay Mortar Drying
Several errors can significantly extend mortar drying times or compromise final strength.
Adding excessive water creates weak mortar that takes longer to cure and may never achieve design strength. Always follow manufacturer’s mixing ratios precisely.
Working in unsuitable weather conditions wastes time and materials. Avoid mortar work during freezing conditions or extreme heat without proper precautions.
Insufficient mixing leaves dry pockets that cure unevenly, creating weak spots and inconsistent drying times throughout the application.
Tips to Speed Up Mortar Drying Process
Legal and safe methods can help accelerate mortar curing when project timelines are tight.
Maintain optimal temperatures using temporary heating or cooling as needed. Gentle air circulation helps moisture evaporation without causing rapid surface drying.
Choose appropriate mortar types for your timeline. Fast-setting formulations cost more but deliver results when speed matters most.
Control environmental factors by using windbreaks, shade cloths, or temporary shelters to maintain ideal curing conditions.
When Mortar Takes Too Long to Dry: Troubleshooting
Extended drying times usually indicate underlying problems requiring immediate attention.
Excessive water content is the most common cause of slow curing. Check mixing ratios and consider adding dry cement to stiffen the mixture if caught early.
Poor-quality materials or contaminated aggregates can severely impact curing performance. Source materials from reputable suppliers and store them properly.
Temperature extremes prevent normal chemical reactions. Monitor conditions and adjust working methods accordingly.
Safety Considerations During Mortar Drying
Fresh mortar contains alkaline materials that can cause skin and eye irritation. Always wear appropriate protective equipment including gloves, safety glasses, and protective clothing.
The Health and Safety Executive provides comprehensive guidance on safe mortar handling and curing practices.
Ensure adequate ventilation when working indoors, as curing mortar can produce moisture that promotes mould growth in enclosed spaces.
Never attempt to accelerate drying using direct heat sources like propane heaters, which can cause rapid moisture loss and cracking.
Conclusion
Mortar drying times vary significantly based on type, environmental conditions, and application methods. Standard cement mortars typically set within 30 to 60 minutes and cure sufficiently for most purposes within 24 to 48 hours. However, full strength development continues for weeks.
Success depends on choosing the right mortar type for your project, maintaining optimal environmental conditions, and allowing adequate time for proper curing. Understanding these fundamentals ensures strong, durable construction that stands the test of time.
Planning your project timeline around realistic mortar drying expectations prevents costly delays and ensures professional results every time.
FAQs
How long should I wait before walking on mortar?
Wait at least 24 hours before light foot traffic on cured mortar, and 48-72 hours for heavy loads. The exact time depends on mortar type, thickness, and environmental conditions.
Can I speed up mortar drying with heat?
Gentle warmth can help, but avoid direct heat sources which cause rapid surface drying and cracking. Maintain temperatures between 18-24°C for optimal results.
What happens if mortar gets wet while drying?
Light rain after 24 hours typically causes no problems, but heavy precipitation within the first 12 hours can wash out mortar or weaken the final strength significantly.
Why is my mortar taking weeks to dry?
Extended drying times usually indicate cold temperatures, high humidity, excessive water content, or poor-quality materials. Check environmental conditions and mixing ratios.
Is mortar fully cured when it looks dry?
No, visual dryness indicates surface moisture loss but full strength development continues for weeks. Most mortars achieve 80% of final strength within 7 days under normal conditions.