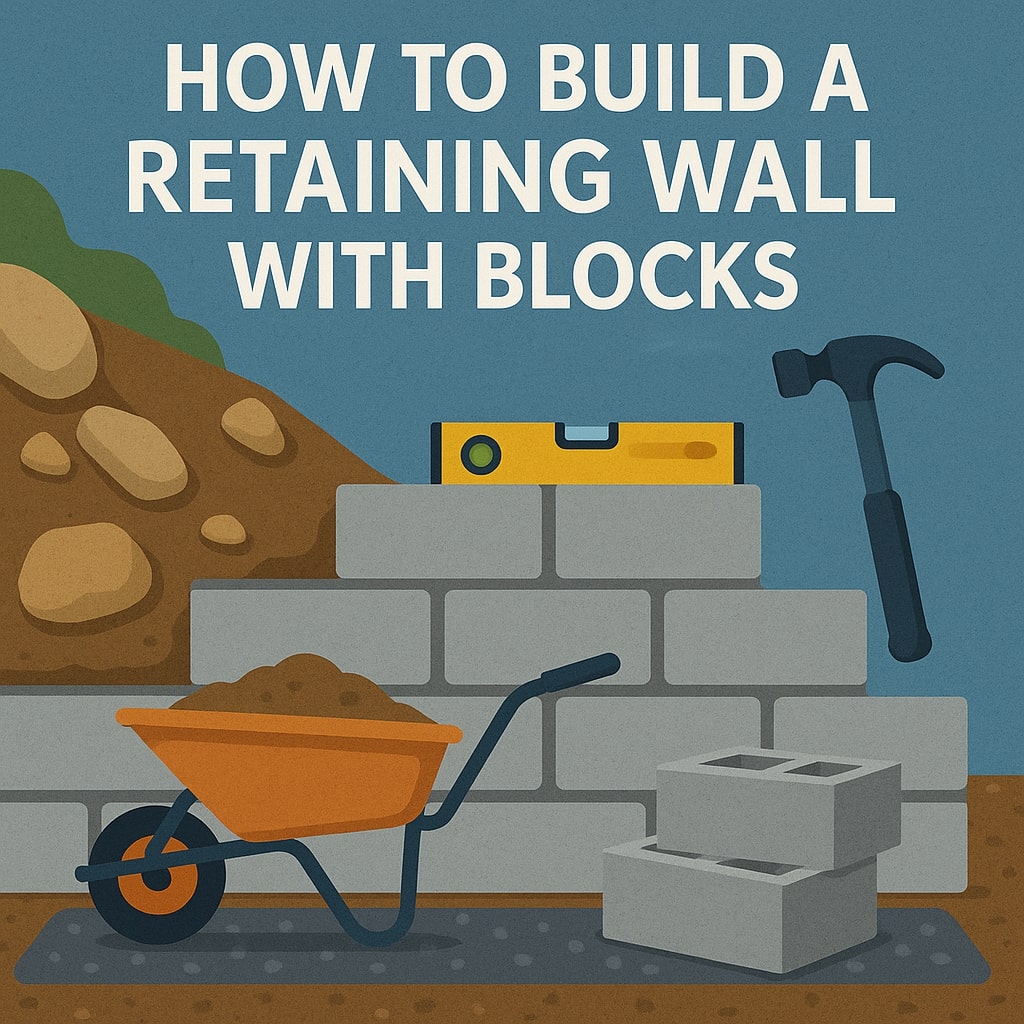
Building a retaining wall with blocks transforms sloped gardens, prevents soil erosion, and creates usable outdoor spaces. This comprehensive guide walks you through every step of constructing a durable block retaining wall that will stand the test of time.
Understanding Retaining Walls and Their Purpose
What Is a Retaining Wall?
A retaining wall is a structure designed to hold back soil and prevent erosion on sloped terrain. These walls create level areas in your garden whilst managing water drainage and soil stability. Block retaining walls offer excellent durability and aesthetic appeal compared to other materials.
Modern retaining walls serve multiple purposes beyond soil retention. They create terraced gardens, define property boundaries, and add architectural interest to landscapes. The structural integrity depends on proper construction techniques and appropriate materials for your specific site conditions.
When Do You Need a Retaining Wall?
You’ll need a retaining wall when dealing with steep slopes exceeding 30 degrees, areas prone to soil erosion, or when creating level spaces from sloped terrain. Signs indicating the need include visible soil movement, water pooling, or existing failed retaining structures.
Consider building a retaining wall if you’re experiencing foundation problems due to soil movement, want to create additional usable garden space, or need to redirect water flow away from structures. Professional assessment becomes necessary for walls exceeding 1.2 metres in height.
Types of Retaining Wall Blocks
Concrete Blocks
Concrete blocks represent the most popular choice for DIY retaining walls due to their affordability and ease of installation. These blocks come in various sizes, typically weighing between 15-30 kilograms each, making them manageable for most builders.
Standard concrete blocks measure 400mm x 200mm x 200mm and feature hollow centres for reduced weight. They accept rebar reinforcement and provide excellent compressive strength. The uniform shape ensures consistent wall appearance and simplified construction.
Natural Stone Blocks
Natural stone blocks offer superior aesthetics but require more skill to install properly. Limestone, sandstone, and granite blocks provide exceptional durability and weather resistance. These materials naturally complement garden environments but cost significantly more than concrete alternatives.
Stone blocks vary in size and shape, requiring careful selection and fitting during construction. The irregular surfaces create stronger interlocking but demand more time and expertise to achieve level courses.
Interlocking Blocks
Interlocking retaining wall blocks feature engineered connection systems that eliminate the need for mortar. These blocks include lips, pins, or tongue-and-groove connections that automatically align each course during installation.
The interlocking design provides superior stability and faster construction compared to traditional stacked blocks. Many systems include built-in setback angles that improve wall stability and create attractive stepped profiles.
Block Type Comparison
| Block Type | Cost per m² | Installation Difficulty | Durability | Aesthetic Appeal |
|---|---|---|---|---|
| Concrete | £15-25 | Easy | High | Moderate |
| Natural Stone | £40-80 | Moderate | Very High | Excellent |
| Interlocking | £25-45 | Easy | High | Good |
Planning Your Retaining Wall Project
Assessing Your Site
Site assessment determines the appropriate wall design and construction methods. Measure the slope angle, soil type, and drainage patterns before beginning construction. Clay soils require enhanced drainage systems, whilst sandy soils drain naturally but may need stabilisation.
Identify underground utilities using Dial Before You Dig services to prevent dangerous accidents during excavation. Mark all utility locations clearly and maintain safe distances during construction.
Check for existing drainage systems, property boundaries, and neighbouring structures that might affect your project. Document the site with photographs and measurements to reference throughout construction.
Checking Building Regulations
UK building regulations require planning permission for retaining walls exceeding 1 metre in height or those supporting vehicle loads. Contact your local planning authority to understand specific requirements for your area.
Structural calculations become mandatory for walls over 1.2 metres or those in areas with poor soil conditions. Professional engineers must sign off on designs exceeding these thresholds to ensure public safety.
Height Restrictions and Permits
Most residential retaining walls under 1 metre height don’t require permits, but check local council requirements. Walls near property boundaries may need neighbour consent regardless of height. Commercial properties often have stricter requirements.
Tools and Materials Required
Essential Tools List
Professional-quality tools ensure accurate construction and reduce physical strain during building. Rent expensive tools like plate compactors and concrete mixers rather than purchasing for single-use projects.
Hand Tools:
- Spirit level (1200mm minimum)
- Rubber mallet
- Line blocks and string
- Measuring tape
- Spade and mattock
- Wheelbarrow
Power Tools:
- Angle grinder with masonry blade
- Plate compactor
- Concrete mixer (if needed)
Materials and Quantities Calculator
Calculate materials accurately to avoid shortages or waste during construction. Order 10% extra blocks to account for cutting waste and potential damage during handling.
Basic Materials per Linear Metre:
- Blocks: 12-15 units (depending on size)
- Aggregate base: 0.15 cubic metres
- Drainage gravel: 0.08 cubic metres
- Geotextile fabric: 1.2 square metres
- Drainage pipe: 1 metre (100mm diameter)
Step-by-Step Construction Process
Site Preparation and Excavation
Mark the wall alignment using spray paint or stakes and string. Excavate to a depth equal to one block height plus 150mm for the aggregate base. The trench width should equal the block depth plus 300mm for backfill space.
Remove all organic material, roots, and debris from the excavation area. Compact the soil base using a plate compactor to prevent future settling. Check excavation depth regularly with a measuring stick to maintain consistency.
Slope the excavation base towards the drainage outlet at 1:100 gradient to encourage water flow. This subtle slope prevents water accumulation behind the wall whilst remaining barely noticeable during construction.
Creating the Foundation
A solid foundation ensures long-term wall stability and prevents costly failures. Use angular aggregate (MOT Type 1) rather than rounded stones for better compaction and stability.
Spread aggregate base material in 75mm lifts, compacting each layer thoroughly with a plate compactor. The finished base should be level across its width but maintain the slight slope towards drainage outlets.
Check base level frequently using a spirit level and adjust as needed before compacting. A properly prepared base distributes wall loads evenly and prevents differential settling that causes wall failure.
Installing the First Course
The first course determines the accuracy of your entire wall, so take extra care with alignment and level. Start at the lowest point and work upwards, checking level constantly.
Place the first block and tap into position using a rubber mallet. Check level in both directions before proceeding to the next block. Use line blocks and string to maintain straight alignment over long distances.
Cut blocks using an angle grinder with masonry blade when needed for proper fit. Always wear safety equipment including eye protection and dust masks when cutting blocks.
Building Subsequent Courses
Stack each course with joints offset by half a block length for maximum strength. This running bond pattern distributes loads effectively and creates a stronger wall structure.
Check level and alignment after every third course to catch errors early. Small adjustments are easier to make during construction than after completion.
Apply construction adhesive between courses if specified by the block manufacturer. Some interlocking systems don’t require adhesive, relying instead on mechanical connections.
Backfilling and Drainage
Install drainage aggregate immediately after completing each course to prevent soil pressure from destabilising the wall. Use clean angular gravel (10-20mm) for optimal drainage performance.
Place geotextile fabric between the drainage aggregate and soil backfill to prevent soil migration into the drainage layer. This separation maintains long-term drainage effectiveness.
Compact backfill soil in thin lifts to prevent excessive pressure on the wall. Use hand compaction tools near the wall and mechanical compaction further back.
Drainage Systems for Retaining Walls
Why Drainage Matters
Proper drainage prevents hydrostatic pressure buildup that can cause catastrophic wall failure. Water weighs approximately 1000kg per cubic metre, creating enormous forces when trapped behind retaining walls.
Poor drainage causes soil saturation, increased pressure, and potential wall collapse during heavy rainfall periods. Installing adequate drainage systems costs far less than rebuilding failed walls.
Installing Drainage Pipes
Install perforated drainage pipes at the base of the wall, surrounded by drainage aggregate. Connect pipes to daylight outlets or existing drainage systems to remove collected water effectively.
Use rigid PVC pipes with 6mm perforations spaced at 120-degree intervals around the pipe circumference. Wrap pipes in geotextile fabric to prevent soil infiltration whilst maintaining water flow.
Maintain pipe slope of at least 1:100 towards the outlet to ensure positive drainage. Check pipe alignment during installation to prevent low spots that trap water.
Common Mistakes to Avoid
Foundation Errors
Inadequate foundation preparation causes most retaining wall failures. Never build directly on undisturbed soil without proper aggregate base preparation. The foundation must extend below the frost line in cold climates.
Insufficient excavation depth leads to shallow foundations that cannot support wall loads properly. Always excavate to the full required depth, even in good soil conditions.
Drainage Problems
Blocked or inadequate drainage creates hydrostatic pressure that destroys retaining walls. Install drainage systems during construction rather than attempting retrofits later.
Using the wrong backfill materials can clog drainage systems. Avoid clay soils directly behind walls and always include proper drainage aggregate layers.
Maintenance and Longevity
Regular Inspection
Inspect your retaining wall twice yearly for signs of movement, cracking, or drainage problems. Look for bulging, leaning, or separation between blocks that indicates structural issues.
Check drainage outlets regularly to ensure free water flow. Clear any debris blocking drainage pipes or surface water channels immediately.
Document any changes with photographs to track progression over time. Small problems become major failures if left unaddressed.
Seasonal Maintenance
Clean drainage systems before winter to prevent ice blockages that trap water behind the wall. Remove leaves and debris from drainage outlets and surface channels.
Check for frost damage after winter periods, particularly in areas with frequent freeze-thaw cycles. Replace damaged blocks promptly to prevent water infiltration.
Cost Breakdown and Budgeting
Material Costs (per linear metre):
- Concrete blocks: £35-50
- Aggregate base: £8-12
- Drainage materials: £15-20
- Tools and equipment hire: £25-40
Labour Costs (if hiring contractors): £150-250 per linear metre
Total Project Cost: £200-350 per linear metre for DIY construction
Budget additional costs for site access, waste disposal, and potential utility relocations. Complex sites with poor access can increase costs significantly due to material handling difficulties.
Conclusion
Building a retaining wall with blocks requires careful planning, proper materials, and attention to construction details. Success depends on adequate site preparation, correct foundation installation, and proper drainage systems.
Take time during the planning phase to understand soil conditions and drainage requirements specific to your site. Professional consultation for complex projects ensures compliance with building regulations and long-term structural integrity.
Remember that retaining walls are permanent structures affecting property value and safety. Quality construction methods and materials provide decades of reliable service whilst poor construction leads to expensive failures requiring complete reconstruction.
Frequently Asked Questions
How deep should a retaining wall foundation be?
Foundation depth should equal the wall height divided by eight, with a minimum of 150mm below finished grade. Add an additional 100mm in areas subject to frost to prevent frost heave damage.
What’s the maximum height for a DIY retaining wall?
DIY retaining walls should not exceed 1 metre in height without professional engineering. Walls above this height require structural calculations and may need building permits depending on local regulations.
How long does a block retaining wall last?
Properly constructed concrete block retaining walls last 50-75 years with minimal maintenance. Natural stone walls can last over 100 years, whilst interlocking systems typically provide 40-60 years of service life.
Can I build a retaining wall without drainage?
Never build retaining walls without proper drainage systems. Even low walls require drainage to prevent hydrostatic pressure buildup that causes structural failure and safety hazards.
What soil conditions require professional help?
Clay soils, high water tables, slopes exceeding 2:1, and areas with previous landslides require professional geotechnical assessment. These conditions create complex engineering challenges beyond typical DIY capabilities.