Are you planning to undertake a flooring project and wondering about the importance of screeding sand and floor screed? Look no further, as this comprehensive guide will provide you with all the information you need to make informed decisions. From understanding the role of screeding sand to determining the best type of sand for your floor screed, we’ve got you covered. Let’s dive in and get detialed information about screeding sand, sand and cement floor screed, sand screeding tools, and much more!
Screeding Sand and Floor Screed
Screeding sand is a crucial component in the construction and renovation of floors. It is a fine aggregate that is mixed with cement and water to create a leveling layer known as floor screed. Screeding sand serves as a base for flooring materials such as tiles, laminates, or carpets, providing a smooth and level surface for installation.
The Importance of Screeding Sand in Flooring Projects
Screeding sand plays a vital role in ensuring the longevity and stability of your flooring. It helps to achieve a level surface by filling in gaps and irregularities, allowing for proper installation of flooring materials. Additionally, screeding sand helps to distribute the load evenly across the floor, preventing cracks and structural issues in the future.
Exploring Different Types of Screeding Sand
There are various types of screeding sand available, each with its own unique properties and uses. The most commonly used types include sharp sand, building sand, and washed sand. Sharp sand is known for its coarser texture and is often preferred for its excellent drainage properties. Building sand, on the other hand, is finer and smoother, making it easier to work with. Washed sand is a cleaner option that is free from impurities, making it suitable for projects where cleanliness is essential.
Sand and Cement Floor Screed
Sand and cement floor screed is a mixture of screeding sand, cement, and water. It forms a strong and durable layer that acts as a base for the final flooring. The ratio of sand to cement can vary depending on the specific requirements of the project, such as the expected load and the desired thickness of the screed.
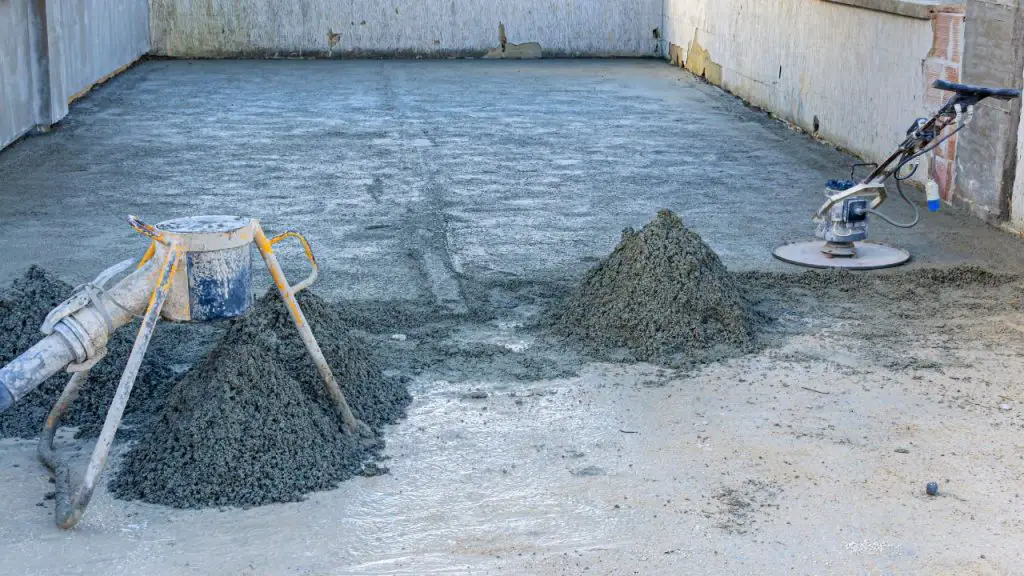
Tools Required for Sand Screeding
To achieve a professional finish when working with sand screed, several tools are essential. These tools include a straightedge or spirit level, a trowel, a screeding bar, and a float. The straightedge or spirit level helps to ensure the screed is level and even, while the trowel is used for spreading and smoothing the mixture. The screeding bar and float aid in achieving a consistent surface finish.
Calculating sand for 1m3 screed
Accurately calculating the amount of sand required for a specific project is crucial to avoid wastage or shortage of materials. To determine the quantity of sand needed for 1m3 of screed, you need to consider the desired thickness of the screed layer and the sand-to-cement ratio. By multiplying the area to be screeded by the thickness and ratio, you can easily calculate the amount of sand required.
The Best Sand for Floor Screed
The choice of sand for floor screed depends on various factors, including the project requirements and the desired finish. Sharp sand is commonly used for general-purpose screeding, providing good drainage and stability. However, in specialized applications where a smoother finish is required, building sand or washed sand may be preferred.
Step-by-Step Guide for Sand Screeding
To achieve a successful sand screeding project, it is essential to follow a systematic approach. Here is a step-by-step guide to help you through the process:
- Prepare the subfloor by ensuring it is clean, dry, and free from any debris or contaminants.
- Install edge insulation or perimeter strips to provide expansion joints and prevent screed leakage.
- Mix the screeding sand, cement, and water according to the recommended ratio, ensuring a consistent and workable mixture.
- Pour the screed onto the prepared subfloor and spread it evenly using a straightedge or spirit level.
- Use the trowel to smooth and compact the screed, eliminating any air pockets or voids.
- Allow the screed to dry and cure according to the manufacturer’s instructions.
- Once the screed is fully cured, it is ready for the installation of the final flooring material.
Common Mistakes to Avoid in Sand Screeding
While sand screeding is a straightforward process, certain mistakes can compromise the quality and durability of the screed. Some common errors to avoid include:
- Inadequate surface preparation, leading to poor adhesion between the subfloor and the screed.
- Incorrect sand-to-cement ratio, resulting in an unstable or weak screed.
- Insufficient compaction, causing air pockets and unevenness in the screed.
- Inadequate curing time, leading to a weakened structure and potential cracking.
Tips for Achieving a Perfectly Smooth Finish
To achieve a flawless and smooth finish in your sand screeding project, consider the following tips:
- Take your time during the mixing process to ensure a consistent and workable screed mixture.
- Use a straightedge or spirit level to regularly check the level and evenness of the screed.
- Remove excess screed and fill in any low spots or voids using a trowel or float.
- Allow sufficient curing time before proceeding with the installation of the final flooring material.
- Maintain a clean and dust-free environment during the entire screeding process to avoid contamination.
How to Cure and Maintain Screeded Floors?
Proper curing and maintenance are crucial for the long-term performance of screeded floors. After the screed has dried, it is essential to follow the manufacturer’s guidelines for curing. This typically involves protecting the screeded area from excessive moisture and temperature fluctuations. Regular cleaning and maintenance, such as sweeping or vacuuming, will help to preserve the integrity and appearance of the floor.
Enhancing the Durability and Strength of Screed
If you require additional durability and strength in your screeded floors, various additives can be incorporated into the screeding mix. These additives may include fibers, plasticizers, or waterproofing agents, which can improve the overall performance and resistance of the screed to factors such as cracking, moisture, or wear and tear.
Exploring Alternative Screeding Materials
While sand screed is a popular choice for many flooring projects, there are alternative materials available that may better suit specific requirements. Some alternatives include self-leveling compounds, which provide a smooth and level finish with minimal effort, and anhydrite screeds, which offer faster drying times and reduced shrinkage compared to traditional sand screed.
Advantages and Disadvantages of Sand Screed
Sand screed offers several advantages, such as its affordability, versatility, and ease of installation. It provides a strong and stable base for various types of flooring materials and allows for customization to meet specific project requirements. However, it’s important to consider the disadvantages as well, such as longer drying times, the need for skilled labor, and the potential for shrinkage and cracking if not properly installed or maintained.
Conclusion
In conclusion, understanding the role of screeding sand and floor screed is crucial for any flooring project. The proper selection and use of screeding sand, along with the correct installation techniques, can ensure a smooth, level, and durable foundation for your flooring. By following the step-by-step guide, avoiding common mistakes, and considering the tips provided, you can achieve professional results in your sand screeding projects.
FAQs
How long does it take for a sand screed to dry?
The drying time for a sand screed can vary depending on factors such as temperature, humidity, and thickness. In general, it can take anywhere from a few days to several weeks for the screed to fully dry and cure.
Can I install underfloor heating with a sand screed?
Yes, sand screed is compatible with underfloor heating systems. However, it’s essential to follow the manufacturer’s guidelines and recommendations for installing underfloor heating with screeded floors.
What is the ideal thickness for a sand screed?
The ideal thickness of a sand screed can vary depending on the specific project requirements and the type of flooring material to be installed. In most cases, a thickness of 50-75mm is considered standard.
Can I use any type of sand for screeding?
While different types of sand can be used for screeding, it’s important to choose the appropriate sand based on its properties and compatibility with the project requirements. Sharp sand, building sand, and washed sand are commonly used for screeding purposes.
Is it possible to repair a damaged or cracked sand screed?
Yes, it is possible to repair a damaged or cracked sand screed. The extent of the repair will depend on the severity of the damage. Small cracks can often be filled and repaired using suitable patching materials, while larger areas may require the removal and replacement of the affected section of the screed.