When it comes to installing Karndean flooring, ensuring that the screed is adequately dry is crucial for a successful and long-lasting installation. In this article, we will explore the ideal drying time for screed before laying Karndean flooring and provide detailed insights into the process.
Screed and Karndean Flooring
Before we delve into the drying time, let’s understand what screed and Karndean flooring are. Screed is a thin layer of concrete or cementitious material that is applied to the subfloor to create a smooth, level surface. Karndean flooring, on the other hand, is a type of luxury vinyl flooring that replicates the look and feel of natural materials like wood or stone. Research Resource: Cambridge Dictionary
Importance of Proper Drying Time
Allowing the screed to dry adequately before installing Karndean flooring is essential for several reasons. Firstly, excess moisture in the screed can cause issues with the adhesive, leading to a weak bond between the flooring and the subfloor. Secondly, if the screed is not dry enough, it can affect the overall stability and performance of the Karndean flooring, potentially causing problems such as warping or shrinking.
Factors Affecting Drying Time
Several factors influence the drying time of screed. The thickness of the screed layer, ambient temperature, humidity levels, and ventilation in the room all play a role in how quickly the screed dries. Additionally, the type of screed used, whether it’s traditional sand and cement or a more advanced self-leveling compound, can also impact the drying time.
Recommended Drying Time for Screed
The drying time for screed can vary depending on the factors mentioned earlier. As a general guideline, traditional sand and cement screeds typically require approximately one day of drying time per millimeter of screed thickness. Therefore, if you have a 50mm screed layer, you would need to allow around 50 days for it to dry completely. However, it’s important to note that these are rough estimates, and it’s best to follow the manufacturer’s recommendations for the specific screed product used.
Accelerating the Drying Process
In some cases, waiting for the screed to dry naturally may not be feasible due to time constraints. In such situations, there are methods available to accelerate the drying process. These methods include using dehumidifiers, fans, or specialized drying compounds.
Testing the Moisture Content
Before proceeding with the installation of Karndean flooring, it’s essential to test the moisture content of the screed. Moisture testing kits or moisture meters can provide accurate readings, indicating whether the screed has reached the desired moisture level for installation. It’s important to conduct these tests in multiple locations across the subfloor to ensure consistency.
Preparing the Subfloor for Karndean Installation
Once the screed has dried adequately, it’s time to prepare the subfloor for Karndean installation. This involves thorough cleaning and ensuring the surface is free from any debris, dust, or contaminants. Additionally, it’s essential to check for any unevenness or imperfections in the screed and address them accordingly to achieve a smooth and level subfloor.
Installation of Karndean Flooring
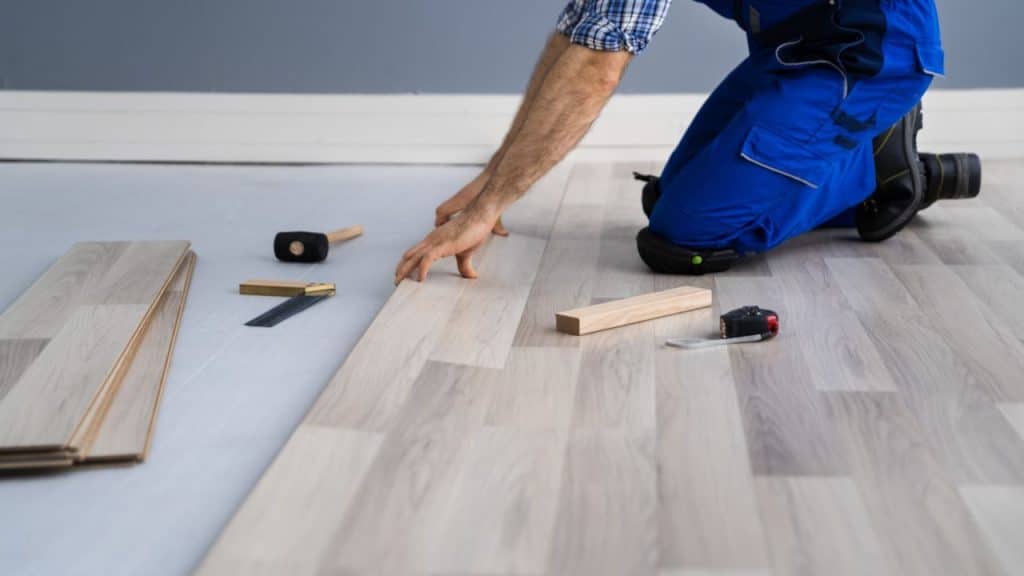
After the subfloor preparation, you can begin the installation of Karndean flooring. Follow the manufacturer’s instructions and guidelines for a proper installation. It typically involves applying an adhesive to the subfloor, placing the Karndean planks or tiles, and ensuring a secure bond. Professional installation is recommended to ensure optimal results.
Conclusion
In conclusion, allowing the screed to dry adequately before installing Karndean flooring is crucial for a successful and long-lasting installation. The recommended drying time for screed can vary based on factors such as thickness, ambient conditions, and the type of screed used. Additionally, it’s important to test the moisture content before proceeding with the installation.
FAQs (Frequesntly Asked Questions)
How long does screed take to dry before Karndean?
The drying time for screed before Karndean installation can vary depending on factors such as thickness, ambient conditions, and the type of screed used. As a general guideline, traditional sand and cement screeds typically require approximately one day of drying time per millimeter of screed thickness.
Can I install Karndean flooring before the screed is completely dry?
It is not recommended to install Karndean flooring before the screed is completely dry. Moisture in the screed can affect the adhesive bond and the overall performance of the flooring. It is crucial to wait until the screed has reached the recommended moisture content for installation.
Are there methods to speed up the drying process of screed?
Yes, there are methods available to accelerate the drying process of screed. These methods may include using dehumidifiers, fans, or specialized drying compounds.
How can I test the moisture content of the screed?
Moisture testing kits or moisture meters can be used to test the moisture content of the screed. These tools provide accurate readings and help determine if the screed has reached the desired moisture level for Karndean installation. Conduct the tests in multiple locations across the subfloor for consistent results.
Can I install Karndean flooring on a damp screed?
No, it is crucial to ensure that the screed is adequately dry before installing Karndean flooring. Installing on a damp screed can lead to adhesion problems, instability, and potential damage to the flooring. Follow the recommended drying time and moisture content guidelines for a successful installation.