Herringbone flooring transforms ordinary spaces into extraordinary showcases of sophistication. This distinctive pattern, characterized by its zigzag arrangement of rectangular planks, creates visual drama whilst maintaining timeless appeal. Whether you’re renovating a Victorian terrace or designing a contemporary loft, herringbone flooring delivers unmatched elegance that never goes out of style.
What is Herringbone Flooring?
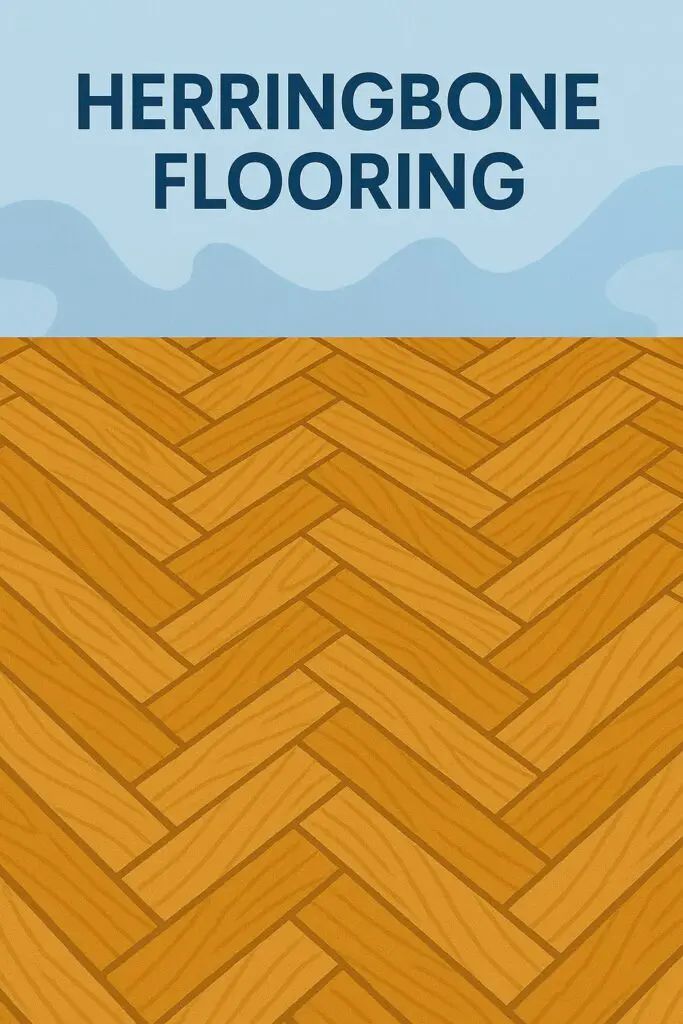
Herringbone flooring consists of rectangular planks arranged in a distinctive V-shaped pattern, creating a continuous zigzag design across the floor surface. Each plank meets its neighbour at a 90 degree angle, forming the characteristic chevron appearance that resembles fish bones – hence the name “herringbone.”
This installation method requires precise cutting and careful alignment to achieve the perfect geometric pattern. The planks are typically cut to identical lengths, with each piece positioned perpendicular to adjacent planks. The result is a sophisticated floor design that adds visual interest without overwhelming the space.
Unlike standard straight lay installations, herringbone patterns create dynamic visual movement that can make rooms appear larger and more luxurious. The pattern works equally well with various materials, from traditional hardwood to modern luxury vinyl, making it accessible for different budgets and design preferences.
History and Origins of Herringbone Pattern
The herringbone pattern dates back to ancient Roman times, where it was first used in road construction. Roman engineers discovered that arranging stones in this interlocking pattern created stronger, more durable surfaces that could withstand heavy traffic and weather conditions.
During the 16th century, French craftsmen adapted this technique for interior flooring, particularly in grand châteaux and palaces. The pattern became synonymous with luxury and sophistication, earning its place in European aristocratic homes. Versailles, the epitome of French grandeur, featured extensive herringbone parquet floors that influenced architectural trends across Europe.
The Victorian era saw herringbone flooring gain popularity in Britain, where it became a hallmark of quality craftsmanship in affluent homes. Today, this classical pattern continues to symbolize elegance and refined taste, bridging traditional heritage with contemporary design sensibilities.
Types of Herringbone Flooring Materials
Hardwood Herringbone Flooring
Solid hardwood remains the premium choice for herringbone installations. Oak, maple, walnut, and cherry are popular species that offer exceptional durability and natural beauty. Each wood species brings unique characteristics:
Oak herringbone flooring provides excellent stability and accepts stains beautifully, allowing for customized colour matching. The prominent grain pattern enhances the herringbone’s visual appeal whilst maintaining classic elegance.
Maple herringbone offers a lighter, more contemporary appearance with subtle grain patterns. Its hard density makes it ideal for high traffic areas, though it requires careful finishing to prevent yellowing over time.
Walnut herringbone delivers rich, chocolate tones that create dramatic focal points. The natural colour variation adds depth and character to the geometric pattern.
Engineered hardwood provides similar aesthetics with improved dimensional stability. The multi-layer construction reduces expansion and contraction, making it suitable for areas with humidity fluctuations.
Luxury Vinyl Herringbone
Luxury vinyl tile (LVT) and luxury vinyl plank (LVP) offer cost-effective herringbone solutions without compromising visual appeal. Modern manufacturing techniques create remarkably realistic wood and stone textures that closely mimic natural materials.
Benefits include:
- Waterproof construction suitable for kitchens and bathrooms
- Easy maintenance requiring minimal care
- Comfortable underfoot with built-in cushioning
- DIY friendly installation systems
- Lower initial investment compared to hardwood
Premium luxury vinyl collections feature enhanced textures, realistic edge beveling, and superior print quality that rivals natural materials.
Laminate Herringbone Flooring
Laminate flooring provides another budget conscious option for achieving the herringbone look. High quality laminate products feature:
- Realistic photographic layers that simulate wood grain
- Durable wear layers protecting against scratches and stains
- Click-lock installation systems for easy fitting
- Suitable for most rooms except wet areas
However, laminate cannot be refinished like hardwood, and moisture damage is irreversible. Quality varies significantly between manufacturers, making careful selection essential.
Tile Herringbone Patterns
Ceramic and porcelain tiles create stunning herringbone patterns for kitchens, bathrooms, and entryways. Popular options include:
Subway tiles arranged in herringbone patterns add visual interest to backsplashes and walls. The classic 3×6 inch format works perfectly for this application.
Natural stone tiles such as marble, travertine, and limestone create luxurious herringbone floors with unique character and variation.
Wood-look porcelain tiles combine the herringbone aesthetic with tile durability, perfect for areas requiring moisture resistance.
Herringbone vs Chevron Flooring: Key Differences
Many people confuse herringbone and chevron patterns, but they’re distinctly different:
| Feature | Herringbone | Chevron |
|---|---|---|
| Plank Ends | Square/rectangular cuts | Angled cuts (typically 45°) |
| Joint Pattern | Planks meet at 90° angles | Planks meet at points |
| Visual Effect | Broken zigzag pattern | Continuous V-shaped lines |
| Installation Complexity | Moderate | Higher (requires precise cutting) |
| Material Waste | 10-15% | 15-20% |
| Cost | Moderate premium | Higher premium |
Herringbone creates a more traditional, textured appearance with visible joints between planks. Chevron produces smoother, more contemporary lines with uninterrupted V-shapes flowing across the floor.
Benefits of Herringbone Flooring
Visual Appeal and Space Enhancement
Herringbone patterns create optical illusions that benefit room proportions. The diagonal lines draw the eye across the floor, making narrow spaces appear wider and small rooms feel larger. This visual trickery is particularly effective in:
- Hallways and corridors
- Compact urban flats
- Open plan living areas
- Galley kitchens
The pattern adds texture and movement without overwhelming the space, creating sophisticated focal points that complement various design styles from traditional to contemporary.
Durability and Longevity
The interlocking nature of herringbone installation distributes foot traffic across multiple planks, reducing wear concentration in high traffic areas. This structural advantage extends floor life compared to standard installations.
Quality herringbone floors, particularly hardwood versions, can last decades with proper maintenance. The pattern’s timeless appeal means it won’t look dated, protecting your investment long-term.
Versatility in Design
Herringbone patterns complement numerous interior design styles:
- Traditional: Classic oak herringbone suits period properties
- Contemporary: Sleek engineered planks create modern sophistication
- Industrial: Dark, wide planks enhance loft style spaces
- Scandinavian: Light toned herringbone brightens minimalist interiors
- Eclectic: Mixed width planks add creative flair
The pattern works as a neutral backdrop or statement feature, depending on material choice and room styling.
Herringbone Flooring Installation Process
Preparation and Planning
Successful herringbone installation requires meticulous planning and preparation. Start by calculating the room’s centre point and marking reference lines for pattern alignment. Proper preparation prevents costly mistakes and ensures professional results.
Subfloor preparation is crucial for long lasting results. Ensure the subfloor is:
- Level within 3mm over 3 metres
- Clean and free from debris
- Structurally sound with no squeaks or movement
- Properly moisture tested if installing over concrete
Acclimatization is essential for wood based materials. Allow planks to adjust to room temperature and humidity for 48-72 hours before installation.
Tools and Materials Required
Essential tools include:
- Mitre saw for precise cuts
- Table saw for rip cuts
- Measuring tape and chalk line
- Spacers for expansion gaps
- Rubber mallet and tapping block
- Knee pads for comfort
- Safety equipment (glasses, dust masks)
Additional materials:
- Underlayment (if required)
- Wood glue for engineered products
- Transition strips for doorways
- Quarter round or skirting boards
- Finishing materials
Step by Step Installation Guide
Step 1: Establish the Starting Point Mark the room’s centre and create perpendicular reference lines. This ensures the pattern remains centred and symmetrical.
Step 2: Dry Layout Arrange several rows without fastening to verify pattern alignment and identify any cutting requirements.
Step 3: Begin Installation Start from the centre reference point, working outward in both directions. Maintain consistent spacing and alignment throughout.
Step 4: Cutting and Fitting Measure and cut border pieces carefully. Use a coping saw for intricate cuts around obstacles.
Step 5: Finishing Touches Install transition strips, skirting boards, and any required trim pieces. Clean the floor thoroughly before use.
Professional installation is recommended for complex layouts or valuable materials. The precision required for perfect herringbone patterns demands experience and specialized tools.
Cost Analysis: Herringbone Flooring Investment
Herringbone installation costs vary significantly based on material choice, room size, and complexity:
| Material Type | Cost per m² (Supply) | Installation Cost per m² | Total Cost per m² |
|---|---|---|---|
| Solid Oak | £40-£80 | £25-£40 | £65-£120 |
| Engineered Hardwood | £30-£60 | £20-£35 | £50-£95 |
| Luxury Vinyl | £15-£40 | £15-£25 | £30-£65 |
| Laminate | £10-£30 | £12-£20 | £22-£50 |
| Porcelain Tile | £20-£60 | £30-£50 | £50-£110 |
Additional costs include:
- Subfloor preparation: £5-£15 per m²
- Underlayment: £3-£8 per m²
- Skirting boards: £8-£20 per linear metre
- Transitions: £15-£40 per piece
Factor in 10-15% material waste for herringbone patterns compared to 5-10% for straight installations. Complex room shapes increase waste percentages.
Maintenance and Care Requirements
Proper maintenance preserves herringbone flooring’s beauty and extends its lifespan. Requirements vary by material:
Hardwood Herringbone Maintenance:
- Daily: Sweep or vacuum to remove debris
- Weekly: Damp mop with appropriate wood cleaner
- Monthly: Deep clean with specialized wood floor products
- Annually: Professional inspection and potential refinishing
Luxury Vinyl Herringbone Care:
- Daily: Sweep or vacuum
- Weekly: Mop with manufacturer recommended cleaners
- Monthly: Deep clean with gentle detergents
- Avoid: Abrasive cleaners, steam mops, excessive water
Laminate Herringbone Maintenance:
- Daily: Sweep or vacuum
- Weekly: Damp mop (avoid excessive moisture)
- Monthly: Use laminate specific cleaners
- Never: Wet mop, use wax, or attempt refinishing
Tile Herringbone Care:
- Daily: Sweep or vacuum
- Weekly: Mop with appropriate tile cleaners
- Monthly: Deep clean grout lines
- Annually: Reseal grout if necessary
Design Ideas and Room Applications
Living Room Herringbone Designs
Living rooms benefit from herringbone’s ability to create conversation starting focal points. Consider these design approaches:
Traditional Elegance: Classic oak herringbone with rich, warm stains complements period furniture and creates timeless sophistication. Pair with oriental rugs and antique furnishings for authentic character.
Contemporary Chic: Wide plank engineered herringbone in light tones creates modern appeal. Combine with minimalist furniture and neutral colour palettes for clean, sophisticated looks.
Industrial Edge: Dark, distressed herringbone planks suit loft style living rooms. Pair with exposed brick walls and metal accents for urban industrial aesthetics.
Kitchen Herringbone Flooring
Kitchens require durable, easy clean surfaces that maintain visual appeal. Herringbone patterns work exceptionally well:
Luxury Vinyl Herringbone provides waterproof protection with realistic appearance. The pattern disguises minor scratches and wear better than straight installations.
Porcelain Tile Herringbone offers ultimate durability and endless design possibilities. Wood look porcelain tiles combine aesthetic appeal with practical benefits.
Consider extending herringbone patterns from floors to backsplashes for cohesive design themes. Smaller format tiles work better for backsplash applications.
Bedroom and Hallway Applications
Bedrooms and hallways benefit from herringbone’s space enhancing properties:
Master Bedrooms: Engineered hardwood herringbone creates luxurious retreats. Choose medium toned woods for warmth without overwhelming the space.
Hallways: Herringbone patterns make narrow corridors appear wider whilst adding visual interest. Light coloured materials brighten traditionally dark spaces.
Guest Bedrooms: Laminate herringbone provides attractive, budget friendly solutions for occasional use spaces.
Common Mistakes to Avoid
Installing herringbone flooring requires precision and attention to detail. Avoid these common pitfalls:
Inadequate Planning: Failing to establish proper reference lines results in crooked patterns and wasted materials. Always mark centre points and create perpendicular guides.
Insufficient Acclimation: Wooden materials need time to adjust to room conditions. Rushing installation leads to gaps, buckling, and premature failure.
Poor Subfloor Preparation: Uneven or damaged subfloors telegraph through finished installations. Address all subfloor issues before beginning.
Incorrect Expansion Gaps: Herringbone patterns still require proper expansion space around room perimeters. Insufficient gaps cause buckling and damage.
Mismatched Materials: Mixing products from different batches can create colour and texture variations. Purchase 10-15% extra from single production runs.
Inadequate Tool Investment: Cheap tools produce poor results. Quality saws, measuring devices, and installation tools ensure professional looking outcomes.
Choosing the Right Herringbone Flooring for Your Home
Selecting appropriate herringbone flooring depends on multiple factors:
Room Function: High traffic areas require durable materials like hardwood or luxury vinyl. Moisture-prone spaces need waterproof options.
Budget Considerations: Establish realistic budgets including installation costs. Remember that quality materials and professional installation provide better long-term value.
Design Style: Consider your home’s architectural style and existing décor. Traditional homes suit classic hardwood, whilst contemporary spaces benefit from wider planks and modern finishes.
Maintenance Preferences: Busy households may prefer low maintenance luxury vinyl over hardwood requiring regular care.
Climate Considerations: Humid climates favour engineered products over solid wood. Dry climates may cause excessive shrinkage in natural materials.
Resale Value: Hardwood herringbone typically provides better resale value than alternative materials, particularly in upmarket properties.
Consult with flooring professionals to evaluate your specific requirements and receive personalized recommendations based on your home’s unique characteristics.
Conclusion
Herringbone flooring represents the perfect marriage of classical elegance and contemporary sophistication. This timeless pattern transforms ordinary spaces into extraordinary showcases whilst providing practical benefits that enhance daily living. Whether you choose luxurious hardwood, practical luxury vinyl, or durable porcelain tiles, herringbone patterns deliver lasting beauty that never goes out of style.
The investment in herringbone flooring pays dividends through increased property value, enhanced living enjoyment, and decades of reliable performance. With proper material selection, professional installation, and appropriate maintenance, your herringbone floors will provide a stunning foundation for your home’s interior design story.
Consider your specific needs, budget, and design preferences when selecting herringbone flooring. The time invested in careful planning and quality materials will reward you with floors that continue to impress for years to come.
FAQs
What is the difference between herringbone and parquet flooring?
Herringbone is a specific pattern within the broader category of parquet flooring. Parquet encompasses various geometric patterns including herringbone, chevron, basket weave, and Versailles patterns. Herringbone specifically refers to the rectangular planks arranged in a zigzag pattern, whilst parquet includes any geometric wood floor design.
How much extra material should I order for herringbone installation?
Order 10-15% extra material for herringbone installations to account for cutting waste and pattern matching. Complex room shapes or numerous obstacles may require up to 20% extra. Always purchase from the same production batch to ensure colour and texture consistency.
Can herringbone flooring be installed over underfloor heating?
Yes, herringbone flooring can be installed over underfloor heating systems, but material choice is crucial. Engineered hardwood and luxury vinyl perform better than solid wood, which can be prone to movement. Ensure the heating system is properly commissioned and gradually increased to prevent damage.
Is herringbone flooring suitable for bathrooms?
Herringbone patterns work excellently in bathrooms when using appropriate materials. Porcelain tiles, luxury vinyl, and sealed natural stone are suitable options. Avoid solid hardwood and laminate in wet areas. Proper waterproofing and ventilation are essential regardless of material choice.
How long does herringbone flooring installation take?
Installation timeframes depend on room size, material type, and complexity. A typical 20m² room takes 2-4 days for professional installation, including preparation time. DIY installations take longer, particularly for inexperienced installers. Complex layouts or obstacles can extend timeframes significantly.